Call to schedule your free pickup today.

FAQ

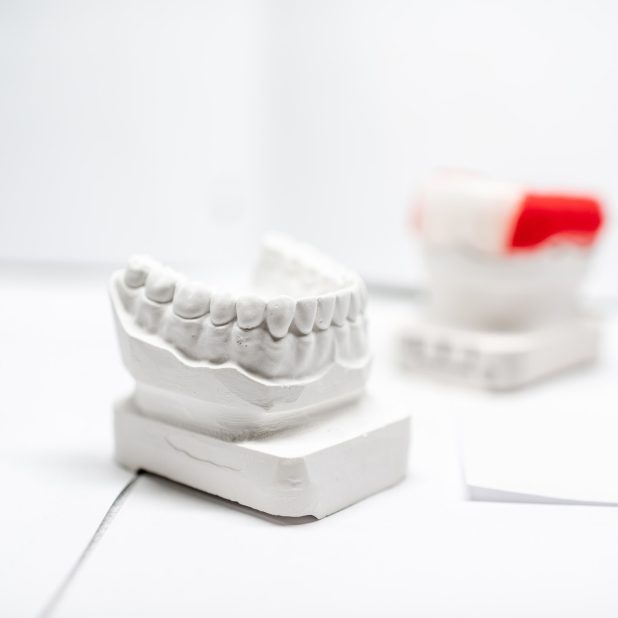
Gypsum models of artificial jaw with dental caps

General Questions

How to use our lab?

Simply fill in an account application form which can be downloaded from our website and send this in with your first case or email to info@odontex.com.au

We offer free collection of parcels throughout Australia! Booking a collection is made easy through our online customer portal which can be accessed via our website. Once your account is up and running simply login and follow the prompts. Alternatively, parcel collection can be arranged by giving us a call. There are various cut-off times for same-day collection, so please contact our office for details on your area.

We accept all courier deliveries. Please send all parcels to the following:

Address: Unit 27/28 Barcoo St, Roseville NSW 2069

Laboratory prescription forms are available for download from our website. There are separate forms for removable and fixed cases. Pads are available on request through the online customer portal or by simply contacting our office.

To receive login details contact our office. The online portal can be used to request bookings, track the status of cases, order forms, update details and more!

We rely on customer feedback to help us continue to improve and create a better experience for your patients. If there is anything at all we could do to improve the quality or service please let us know.

Digital Connection Guides

How to send your cases to our lab?

1. Log in to your Medit Link account.

2. From the left-hand menu, select Partners.

3. In the search bar, enter our lab’s name “Odontex” and search.

4. Find our lab in the results and click Request Partnership to send the request.

5. Once we accept your partnership request, you can open the Medit Link program to place orders and send your completed cases directly to us.

For detailed instructions,  please click here to view the Medit Link Guide

  1. Log in to your Shining 3D account.
  2. Click the “Connections” tab on the right-hand panel.
  3. Click the “+ New” button in the window.
  4. In the “Add Connections” window, enter our lab name Odontex.
  5. Click the tick button to submit the request.
  6. An approval request will be sent automatically. The status will show “Acceptance awaited” until we approve it, then change to “Confirmed.”
  7. Once confirmed, you can begin sending your cases to our lab.

For detailed instructions, please click here to view the Shining 3D Scanner Guide

  1. Go to myitero.com and log in using your username and password.
  2. On the home screen, click Settings, then select Practice Settings.
  3. In the Settings page, click My Labs.
  4. All labs currently connected with your clinic will be listed here.
  5. To add a new lab, click the Add Lab button.
  6. In the search field, enter our lab’s name “Odontex”, then click Search.
  7. Locate Odontex and click Connect.
  8. A confirmation message will appear — click Yes to confirm the connection.
  9. Our lab will receive an email notification about your connection request.
  10. The new lab will appear with a Pending status until we approve it, then it will change to Connected.
  11. After the connection is confirmed, Odontex will appear in your Send To list when completing your Rx.

For detailed instructions,Please click here to view the iTero Connect Guide

  1. Go to Your Practice Settings
    From your DS Core dashboard, click on your profile icon in the top-right corner.
    Select Practice from the dropdown menu.
  2. Open the Preferred Labs Tab
    In the Practice section, click on the Preferred Labs tab.
    Click the + Add preferred lab button on the right-hand side.
  3. Search for a Lab
    In the Add preferred lab window, use the search bar to type the lab’s name — “Odontex.”
    The system will show a list of matching labs.
    Select Odontex and add it to your preferred labs list.

For detailed instructions, Please click here to view the DS Core Connect Guide

  1. Login to your 3Shape Communicate account.
    If you don’t have one, click “Create 3Shape Account” and register for one.
  2. Open 3Shape Unite.
    Go to More → Store.
  3. Add a New Lab Connection.
    Navigate to Lab connections and click the “Add connection” button.
    Type in the lab details — you can search by name, address, email, or phone number.
    Search for Odontex Dental Lab and click Connect.
  4. Approve the Connection.
    Once we approve your request, the status will change from “Waiting for approval” to “Active.”
  5. Set Up on Your TRIOS® Scanner.
    Go to your TRIOS® scanner, select Configure → Lab Connections → Communicate for External Connection.
    Click Refresh and ensure Odontex Dental Lab appears in your Communicate list.

For detailed instructions, Please click here to view the 3 Shape Connect Guide

scientist-working-with-scientific-equipment-in-lab-2021-09-14-01-30-44-utc.jpg